




Workspace Workflows
Workspace Workflows
Workflows help you automate how expenses are submitted, approved, and reimbursed in your workspace.
The Workflows page is organized into tabs: Submissions, Approvals, Payments, and Advanced.
Who can enable and configure Workflows
Workflows are available on Collect and Control workspaces.
- Workspace Admins can enable and configure all workflow settings.
- People Admins can configure Approvals.
- Payments Admins can configure Payments.
- Submissions can only be configured by workspace admins.
How to enable Workflows
- In the navigation tabs (on the left on web, on the bottom on mobile), select Workspaces > [workspace name].
- Select More features.
- Under the Manage section, toggle on Workflows.
How to configure Workflows
Once enabled, admins with the appropriate permissions can configure workflow settings.
- In the navigation tabs (on the left on web, on the bottom on mobile), select Workspaces > [workspace name].
- Select Workflows.
- Select the workflow you want to change: Submissions, Approvals, Payments, or Advanced.
How Approvals work
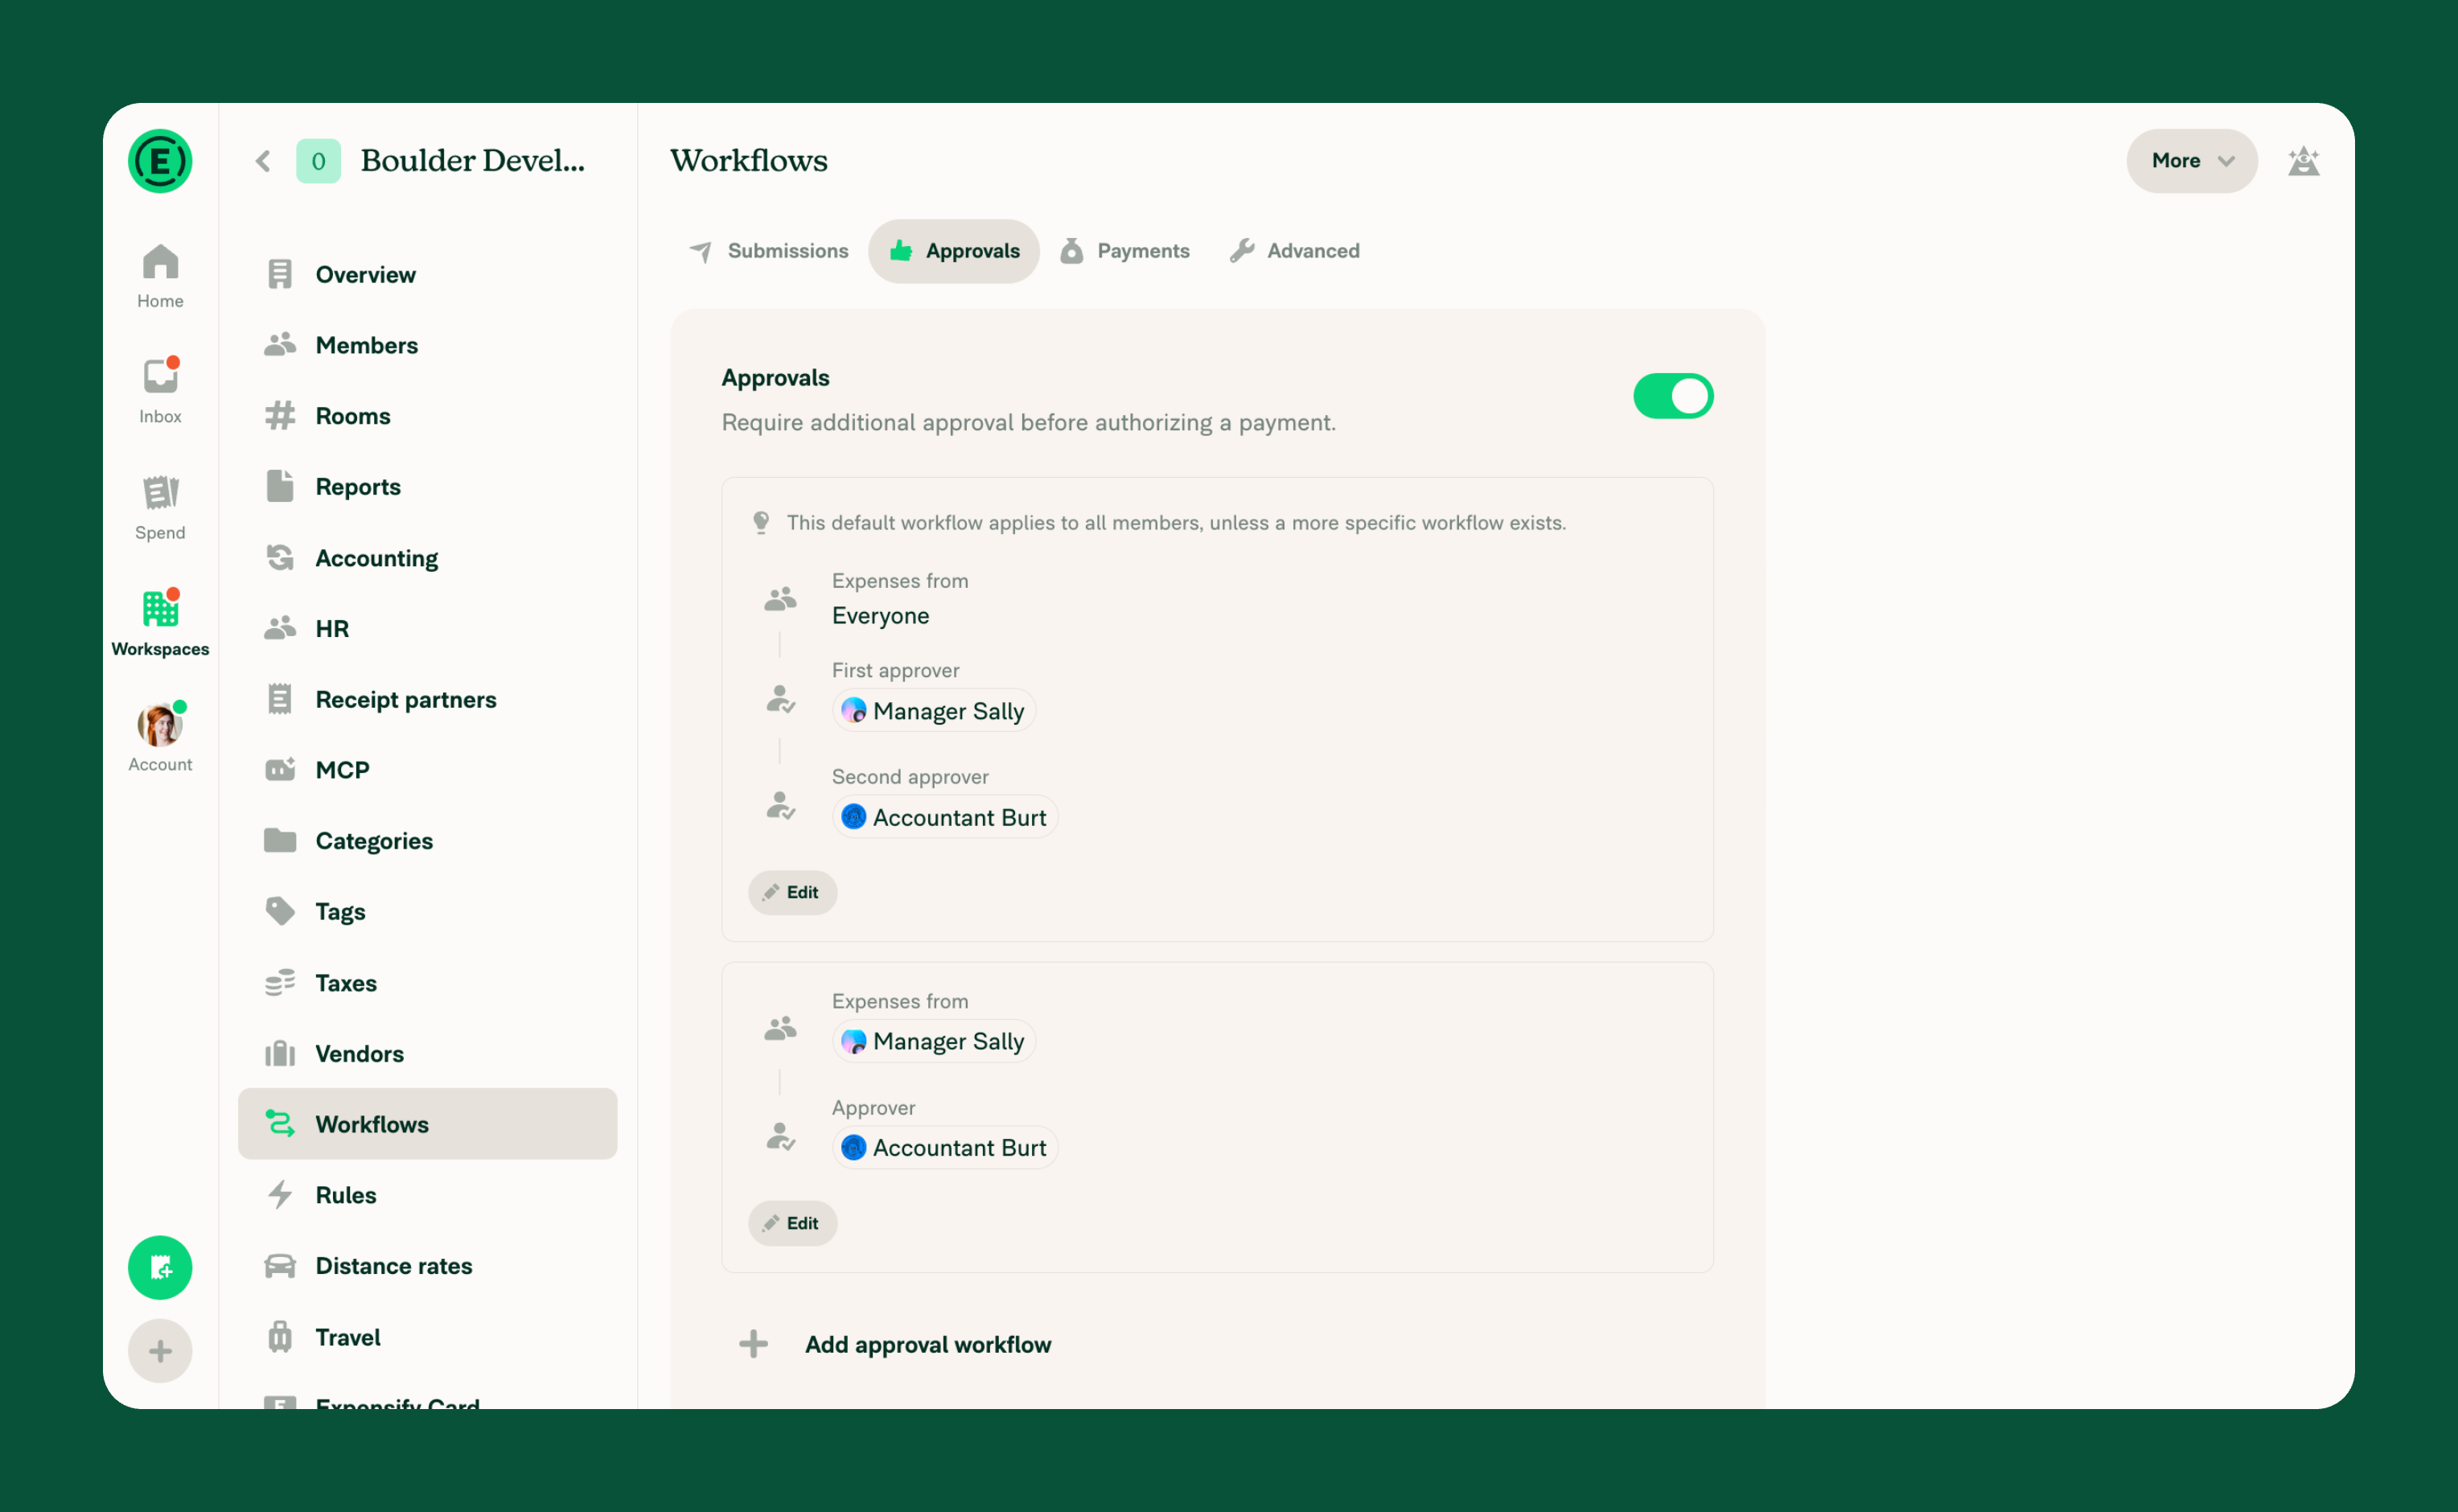
Approvals control who reviews expenses before payment.
- You can assign an approver per workspace member.
- You can also set an over-limit approver for reports that exceed a specific amount.
- The default approver is the workspace owner, but any workspace member can be selected.
- Both workspace admins and people admins can enable and configure Approvals.
Learn how to configure Approvals.
How Submissions work
Submissions controls when expenses are automatically submitted.
Choose how frequently expenses are submitted:
- Instantly – Expenses are submitted upon creation.
- Daily – Reports are submitted every evening. Violations are submitted once corrected.
- Weekly – Reports are submitted weekly. Violations are submitted on Sunday after correction.
- Twice a month – Reports are submitted on the 15th and the last day of the month. Violations are submitted at the next applicable date.
- Monthly – Reports are submitted once a month on your selected day. Violations are submitted the following month.
- By trip – A report is submitted when no new expenses are added for two full days. A new trip report starts after that.
- Manually – Expenses are automatically added to reports. Reports remain unsubmitted until a member submits them manually.
If Submissions is disabled, expenses remain in the Unreported state until a member manually adds them to a report, and reports must be submitted manually. Use this configuration if you do not want expenses to be automatically added to reports.
How Payments work
Payments lets you pay expenses and invoices through Expensify or track payments made outside of Expensify.
- Pay through Expensify: Connect a business bank account and select an authorized payer. The authorized payer must be a Workspace Admin with access to the bank account and is responsible for paying reports.
- Track payments made elsewhere: You don’t need to connect a bank account. Enable Payments to use Mark as Paid for reimbursements made through payroll, cash, or another method.
You can select an Authorized payer even when a business bank account isn’t connected. The authorized payer receives payment reminders in their Inbox and sees the Pay button next to the workspace chat.
Who can pay reports depends on whether a business bank account is connected:
- No bank account connected: workspace admins can use Mark as Paid to record payments made outside of Expensify.
- Bank account connected: The authorized payer and workspace admins the bank account has been shared with can pay reports.
Learn how to add a business bank account.
How Advanced workflows work
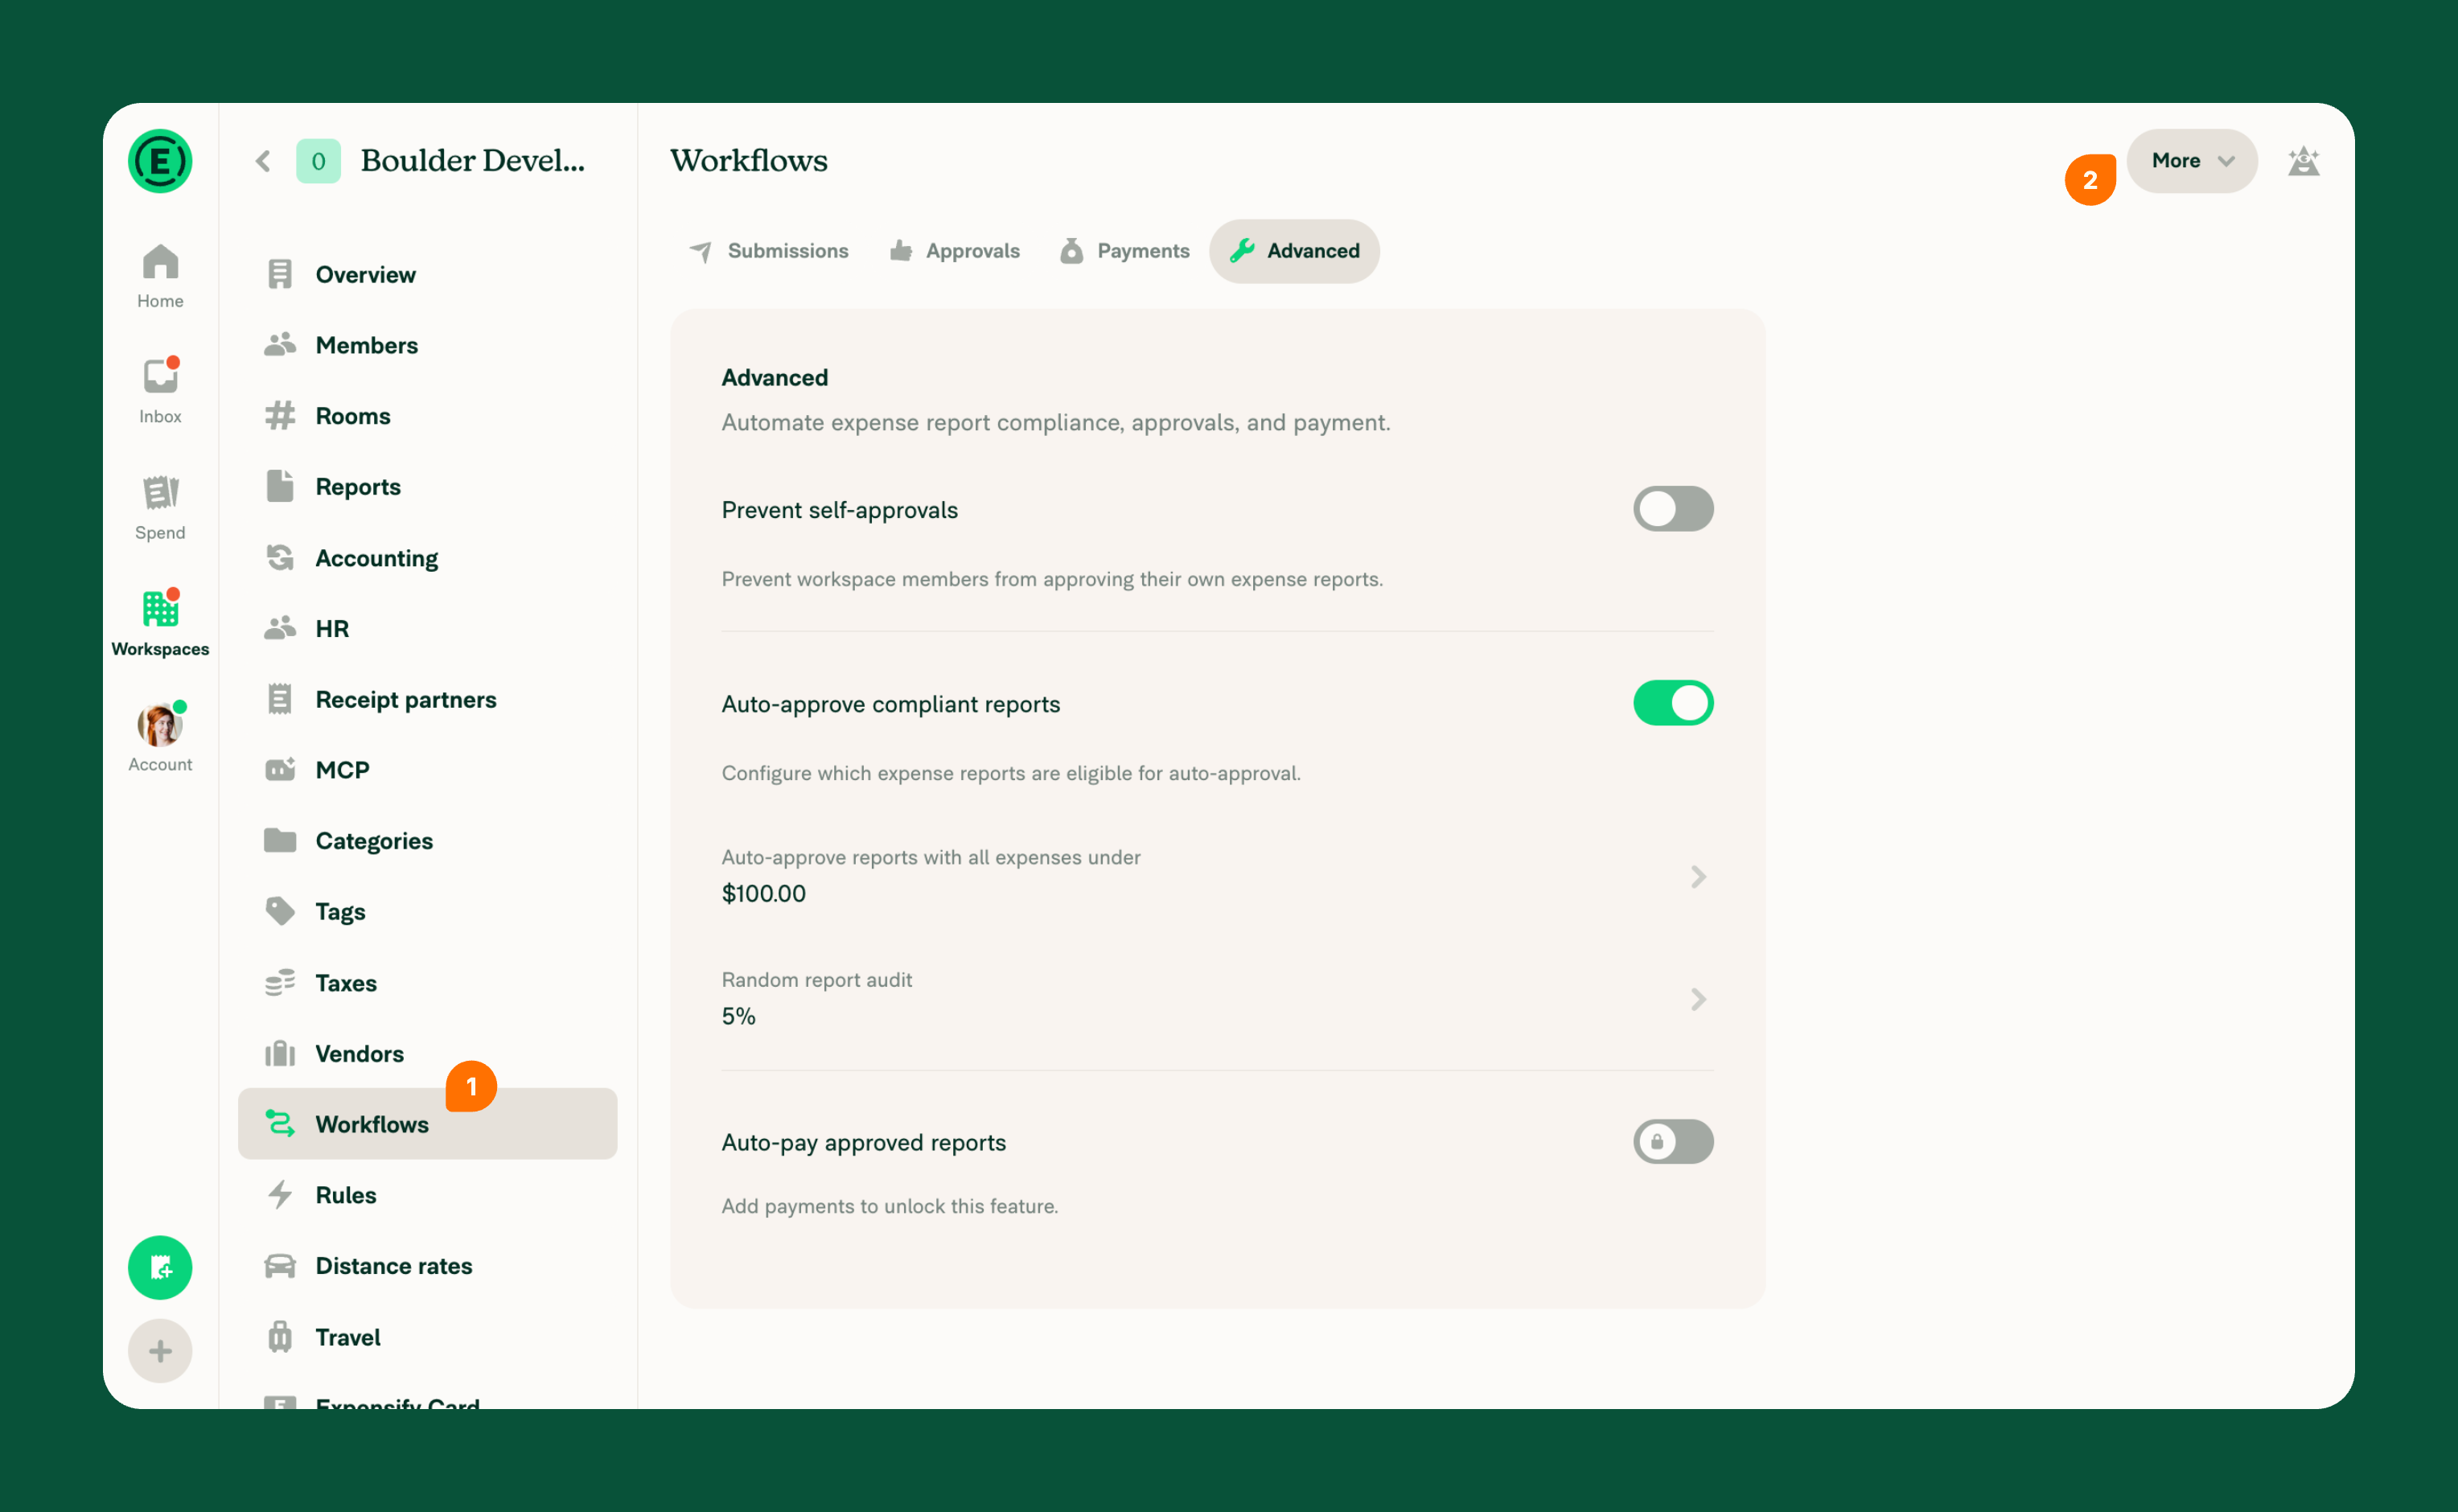
The Advanced tab contains workflow settings that apply to an entire expense report rather than individual expenses.
Available settings include:
- Prevent self-approvals – Prevents workspace members from approving their own expense reports.
- Auto-approve compliant reports – Automatically approves eligible expense reports and lets you randomly audit a percentage of the remaining reports.
- Auto-pay approved reports – Automatically pays approved reports under an amount you set. Payments must be configured first.
How to download your workflow configuration
You can export your workspace’s workflow configuration to a CSV file—for example, to review approver assignments or keep an offline record. Admins who can manage workflows will see the More menu on the Workflows page.
- In the navigation tabs (on the left on web, on the bottom on mobile), select Workspaces > [workspace name].
- Select Workflows.
- Select More.
- Select Download workflows.
A CSV file containing your workspace’s member and approval workflow details downloads to your device.
FAQ
What happens if I don’t choose a submission frequency?
Expenses will remain in the Unreported state until the submitter adds the expense to a report, and reports will need to be submitted manually.
Why are reports still being submitted without an automatic submission frequency set?
This happens if the submitter has set a submission frequency on their Individual workspace in Expensify Classic. In that case, expenses and reports will follow the cadence set in the Individual workspace.
What time of day are reports submitted when an automated submission frequency is set?
All automatic report submissions occur in the evening Pacific Time (PT).
Can I automatically create separate reports for each of my credit cards?
Not at this time. All expenses are collected into a single report and submitted based on the selected frequency.


